
Docker for Web Development - Container Networks
In the previous posts, we covered Docker Volumes and Dockerfiles. In this post, we will explore Docker container networks and how they enable communication between containers, allowing you to manage network configurations for your web development projects.
This is a series of posts about Docker for Web Development:
Understanding Docker Container Networks
Docker container networks allow containers to communicate with each other and with the outside world. By default, Docker creates a bridge network for each container, but you can also create custom networks to control how containers interact.
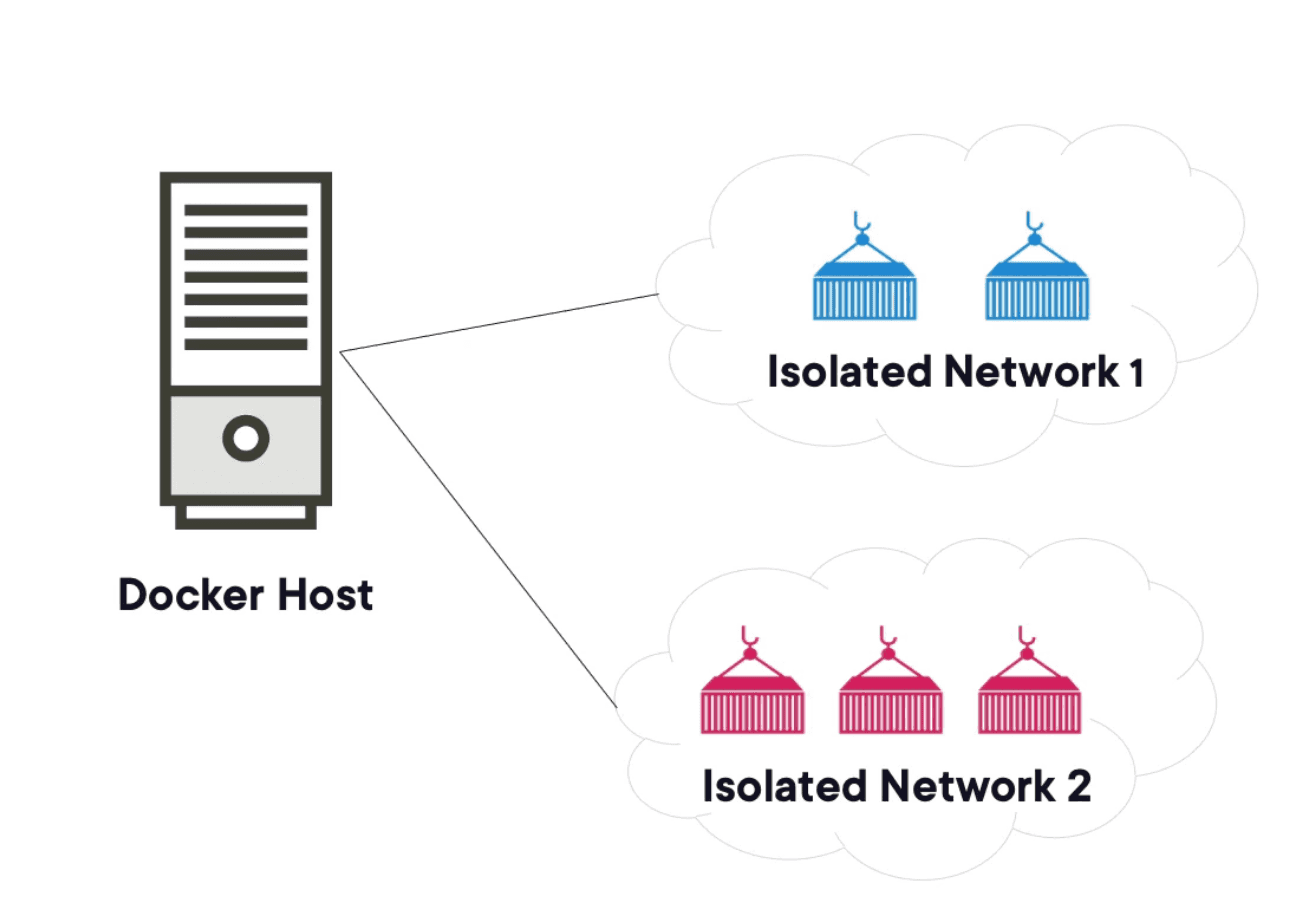
In many situations we have single responsibility containers, for example, a web server container, an API container (or multiple API containers), a cache container, etc. Each of these containers may need to communicate with each other, and that's where Docker networks come into play.
Types of Docker Networks
Docker provides several types of networks that you can use to connect your containers:
- Bridge Network: The default network type. Containers on the same bridge network can communicate with each other using their IP addresses or container names.
- Host Network: Removes network isolation between the container and the host, allowing the container to use the host's network directly.
- Overlay Network: Enables communication between containers across different Docker hosts, typically used in Docker Swarm or Kubernetes.
- Macvlan Network: Assigns a MAC address to a container, making it appear as a physical device on the network. This is useful for legacy applications that require direct network access.
Creating and Using Docker Networks
To create a custom Docker network, you can use the docker network create command. For example, to create a bridge network named my_network, you would run:
docker network create my_networkWe can add a driver to the network, for example, bridge:
docker network create --driver bridge my_networkThis creates a new bridge network named my_network. You can then run containers and connect them to this network using the --network flag:
docker run -d --network my_network --name my_server api_server_image:latestConnecting Containers
When containers are connected to the same network, they can communicate with each other using their container names as hostnames. For example, if you have a web server container and an DB container on the same network, the web server can connect to the DB container using its name:
docker network create my_network
docker run -d --network my_network --name db_server my_db_image
docker run -d --network my_network --name web_server my_web_image
Now, the web_server container can connect to the db_server container using the hostname db_server. For example, in a Node.js application, you could connect to the database like this:
const dbHost = 'db_server'; // Use the container name as the hostname
const dbPort = 5432; // Example port for PostgreSQL
const connectionString = `postgres://${dbHost}:${dbPort}/mydatabase`;
Reviewing logs
To view the logs of a running container, you can use the docker logs command. For example, to view the logs of the web_server container, you would run:
docker logs web_serverYou can also follow the logs in real-time using the -f flag:
docker logs -f web_serverThis will allow you to see the output of the container as it runs, which is useful for debugging and monitoring your application, specially when you have multiple containers communicating with each other over a network. If some connections are not working, you can check the logs of each container to see if there are any errors or issues with the network configuration.
Other useful commands
List all Docker networks:
docker network lsInspect a specific network to see its details:
docker network inspect my_networkRemove a specific network (make sure no containers are connected to it):
docker network rm my_network