Creating roles for your CAP Application on SAP BTP Kyma Runtime
When you deploy a SAP CAP application to Kyma, it usually requires authentication and authorization. This is typically handled by an XSUAA instance, which provides OAuth2-based authentication and role-based access control (RBAC). In this blog post, we will explore how to create roles for your CAP application on SAP BTP Kyma Runtime, and how to assign them to users and groups.
Series — SAP BTP Kyma Runtime:
- Preparing Your Environment For SAP BTP Development on Kyma Runtime
- Deploying Your First CAP Application on SAP BTP Kyma Runtime
- Creating BTP Service Instances on SAP BTP Kyma Runtime with the Service Operator
- Binding BTP Service Instances to your CAP Application with Kyma Runtime
- The Chart Templates Behind Your CAP Kyma Deployment
- Creating roles for your CAP Application on SAP BTP Kyma Runtime (this post)
- Using Istio Gateway as Entry Point in SAP BTP Kyma Runtime
Creating the CAP application
We will start with the same configuration as in the previous blog post, where we created a sample CAP application bound to some BTP service instances, including an XSUAA instance. For details review the previous post. Now execute the following commands to create a new CAP application:
cds init my-cap-app
cd my-cap-app
cds add nodejs
npm install
cds add tiny-sample
cds add hana xsuaa
cds add kyma
Configuring scopes and roles in the XSUAA instance
We will focus now in the /chart directory and the files in there. The values.yaml file contains the configuration for the XSUAA instance:
...
xsuaa:
  serviceOfferingName: xsuaa
  servicePlanName: application
  parameters:
    tenant-mode: dedicated
    oauth2-configuration:
      redirect-uris:
        - https://*.{{ tpl .Values.global.domain . }}/**
    xsappname: my-cap-app-{{ .Release.Namespace }}
...
In it we will add the scopes, roles and role-collections sections to define the scopes and roles for our application. For example, we can add the following configuration:
xsuaa:
  serviceOfferingName: xsuaa
  servicePlanName: application
  parameters:
    tenant-mode: dedicated
    oauth2-configuration:
      redirect-uris:
        - https://*.{{ tpl .Values.global.domain . }}/**
    xsappname: my-cap-app-{{ .Release.Namespace }}
    scopes:
      - name: "$XSAPPNAME.reader"v.
        description: Reader scope for my-cap-app in kyma
      - name: "$XSAPPNAME.admin"
        description: Admin scope for my-cap-app in kyma
    role-templates:
      - name: reader-role
        description: Reader role for my-cap-app in kyma
        scope-references:
          - "$XSAPPNAME.reader"
      - name: admin-role
        description: Admin role for my-cap-app in kyma
        scope-references:
          - "$XSAPPNAME.admin"
    role-collections:
      - name: reader-role-collection
        description: Reader role collection for my-cap-app in kyma
        role-template-references:
          - "$XSAPPNAME.reader-role"
      - name: admin-role-collection
        description: Admin role collection for my-cap-app in kyma
        role-template-references:
          - "$XSAPPNAME.admin-role"
Using the roles in your CAP application
Now that we have defined the scopes and roles in the XSUAA instance, we can use them in our CAP application. In the srv directory, we should edit the cat-service.cds file to add the @requires annotation to the service definition. For example, we can add the following annotation to require the read scope for the CatalogService:
@odata
annotate CatalogService with @(restrict: [
    { grant: ['READ'], to: 'reader' },
    { grant: ['READ', 'WRITE'], to: 'admin' }
]);
service CatalogService {
  entity Books {
    key ID     : Integer;
        title  : String;
        author : String;
  }
}
Deploy the application to Kyma
Finally, we can deploy the application to Kyma using the following command:
cds up --to k8s -namespace my-namespaceFor more details on how to deploy your CAP application to Kyma, please refer to the previous blog post.
Assigning roles to users and groups
Once the application is deployed, the roles and role collections are available in the BTP cockpit. We can go to Role Collections and assign the reader-role-collection to users or groups.
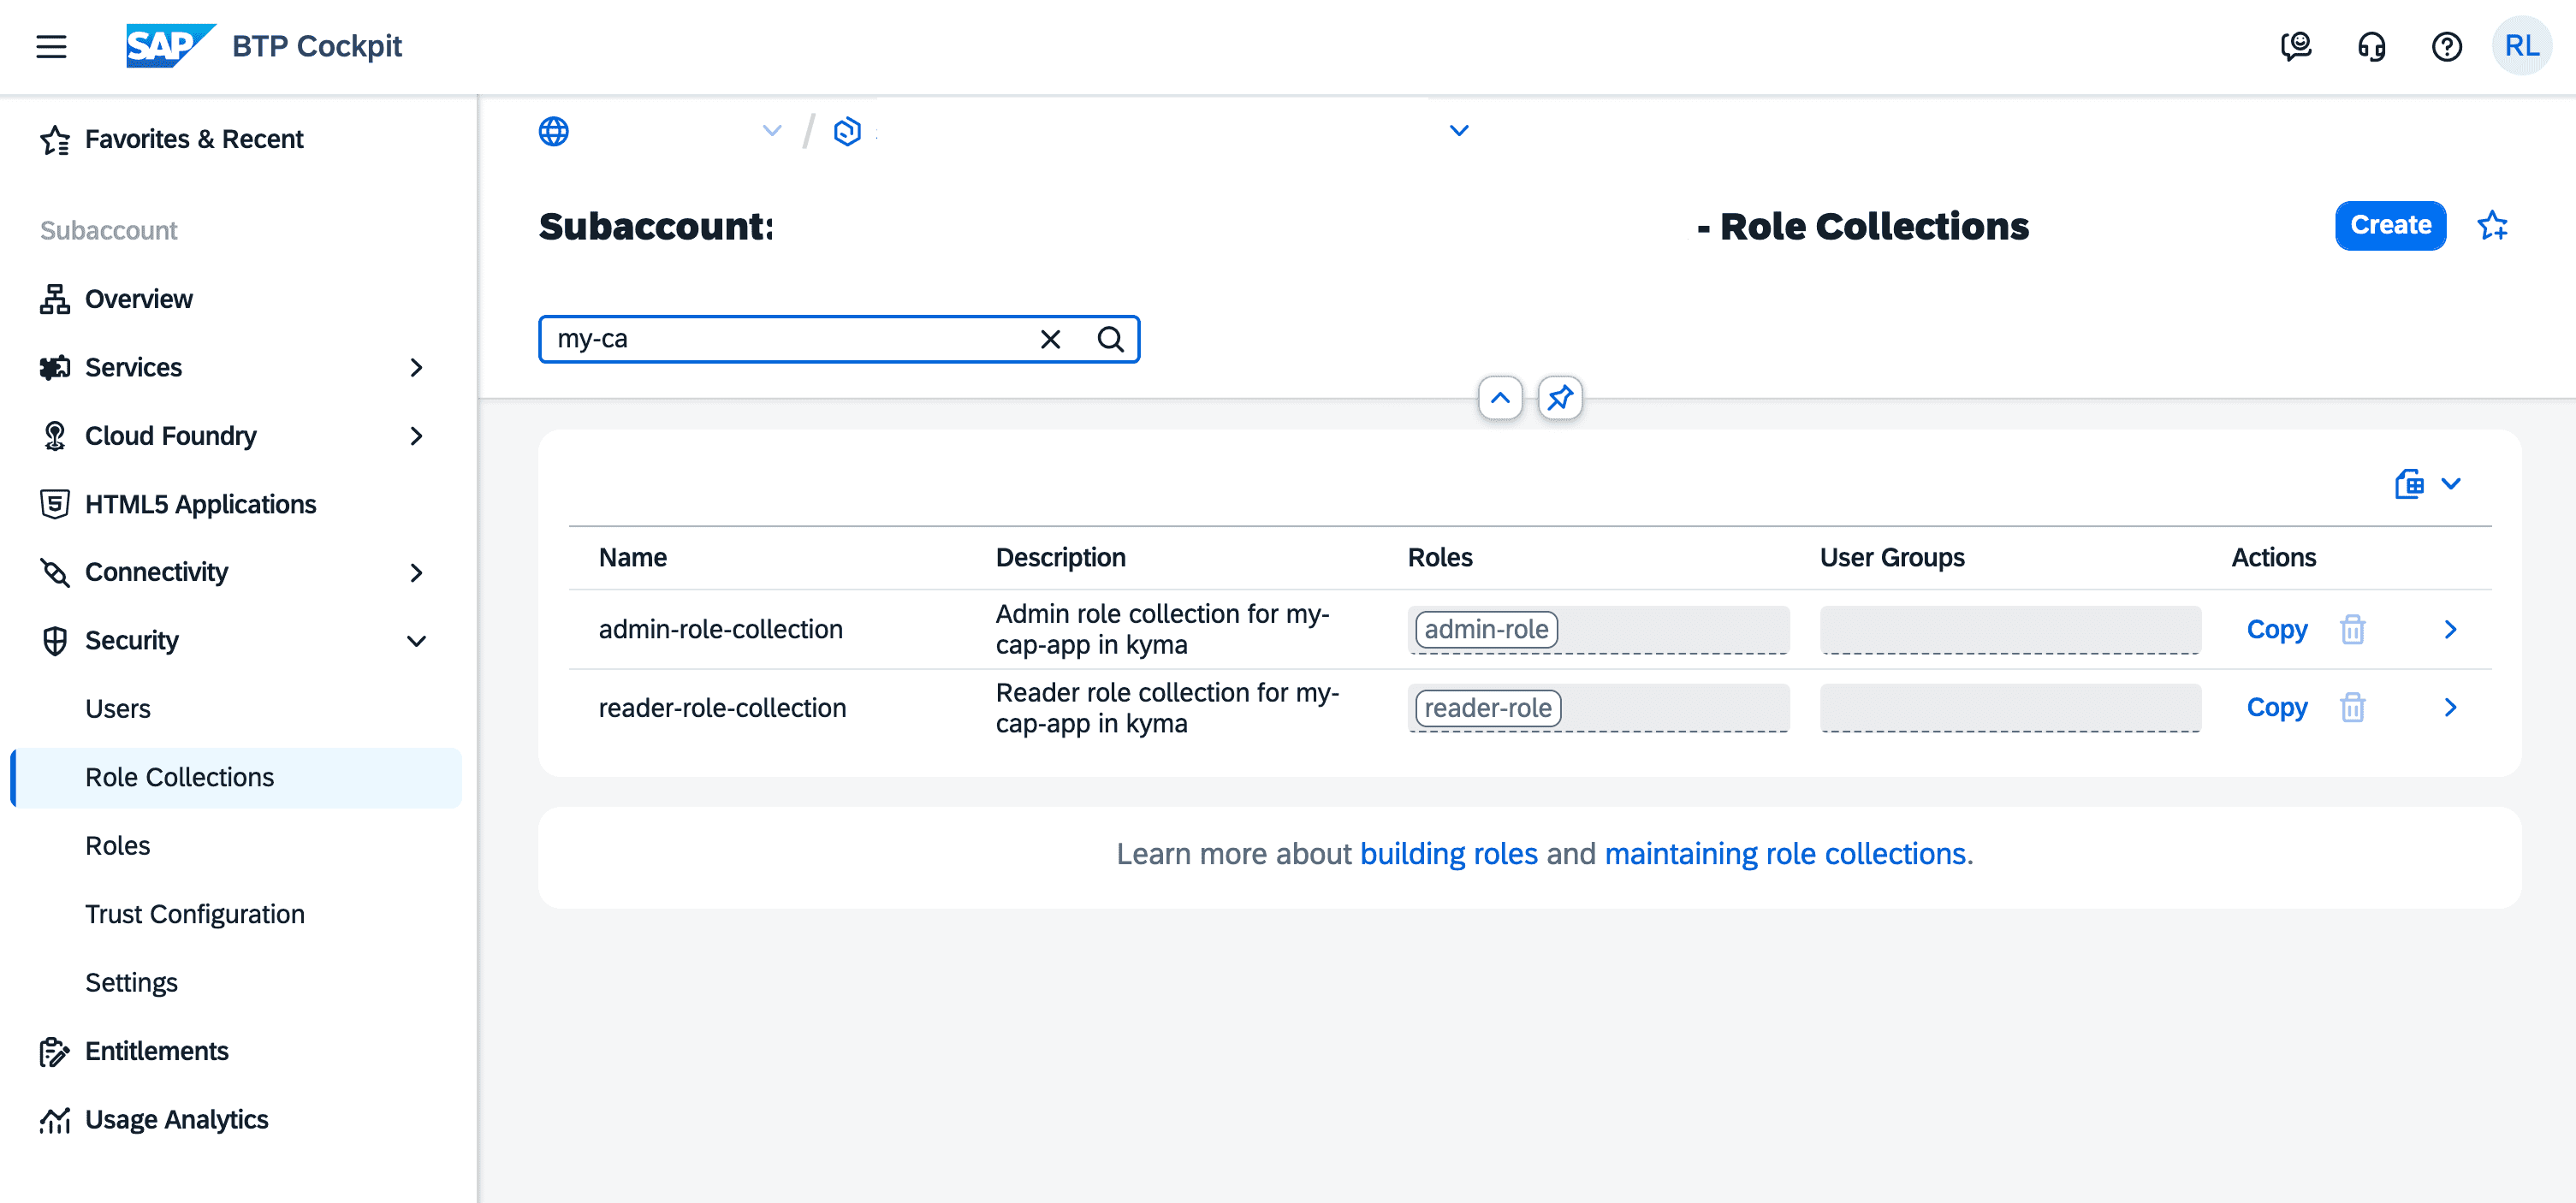
Select one of the roles collection and add your user in the Users section.
Testing the roles
To test the roles, we need to use an entry point that authenticates the user and provides the access token with the assigned roles. In this case, we can use an Approuter application that we can bind to the XSUAA instance and proxy the requests to the CAP application.
To do so run the following command:
cds add approuterThis create a new folder /app/router with the approuter application. To know more about the approuter application, please refer to the official documentation.
In this case the file we are interested in is the xs-app.json file, which defines the routes and authentication methods for the application. Modify its content to set the authentication method for the route:
{
  "authenticationMethod": "route",
  "routes": [
    {
      "source": "^/(.*)$",
      "target": "$1",
      "destination": "srv-api",
      "csrfProtection": true,
      "authenticationType": "xsuaa"
    }
  ]
}
The previous script also added the Approuter image description in the containerize.yaml file:
# containerize.yaml
...
  - name: my-cap-app-approuter
    build-parameters:
      buildpack:
        type: nodejs
        builder: builder-jammy-base
        path: app/router
        env:
          BP_NODE_RUN_SCRIPTS: ""
The chart dependency in the Chart.yaml file:
# Chart.yaml
apiVersion: v2
name: my-cap-app
description: A simple CAP project.
type: application
version: 1.0.0
appVersion: 1.0.0
annotations:
  app.kubernetes.io/managed-by: cds-dk/helm
dependencies:
  ...
  - name: web-application # The approuter application dependency
    alias: approuter
    version: ">0.0.0"
And the values for the Approuter application in the values.yaml file:
# values.yaml
...

srv:
  bindings:
    auth:
      serviceInstanceName: xsuaa
    db:
      serviceInstanceName: hana
    destination:
      serviceInstanceName: destination
  image:
    repository: my-cap-app-srv
  resources:
    limits:
      ephemeral-storage: 1G
      memory: 500M
    requests:
      ephemeral-storage: 1G
      cpu: 500m
      memory: 500M
  health:
    liveness:
      path: /health
    readiness:
      path: /health
  networkSecurity:
    allowNamespaceInternal: true

...

approuter:
  image:
    repository: my-cap-app-approuter
  resources:
    limits:
      ephemeral-storage: 1G
      memory: 500M
    requests:
      ephemeral-storage: 1G
      cpu: 500m
      memory: 500M
  health:
    liveness:
      path: /
    readiness:
      path: /
  envFrom:
    - configMapRef:
        name: "{{ .Release.Name }}-approuter-configmap"
backendDestinations:
  srv-api:
    service: srv
    Authentication: OAuth2UserTokenExchange
In the approuter values section, we need to add the binding to the XSUAA instance with the following code:
approuter:
  bindings: # Add the binding to the XSUAA instance
    auth:
      serviceInstanceName: xsuaa
  image:
    repository: my-cap-app-approuter
  resources:
    limits:
      ephemeral-storage: 1G
      memory: 500M
    requests:
      ephemeral-storage: 1G
      cpu: 500m
      memory: 500M
  health:
    liveness:
      path: /
    readiness:
      path: /
  envFrom:
    - configMapRef:
        name: "{{ .Release.Name }}-approuter-configmap"
Note that the backendDestinations section defines the srv-api destination for the CAP application, which points to the srv service. The Authentication property is set to OAuth2UserTokenExchange, which means that the Approuter will exchange the user token for a token that can be used to access the CAP application.
So what it does is creating a destination named srv-api that points to the host of the CAP application (which will be defined during the deployment). When the user access the Approuter, it will authenticate the user and get the access token with the assigned roles. Then it will forward the request to the CAP application with the access token in the Authorization header.
Let's now deploy the application again:
cds up --to k8s -namespace my-namespaceOnce the deployment is complete, we should see 2 services available:
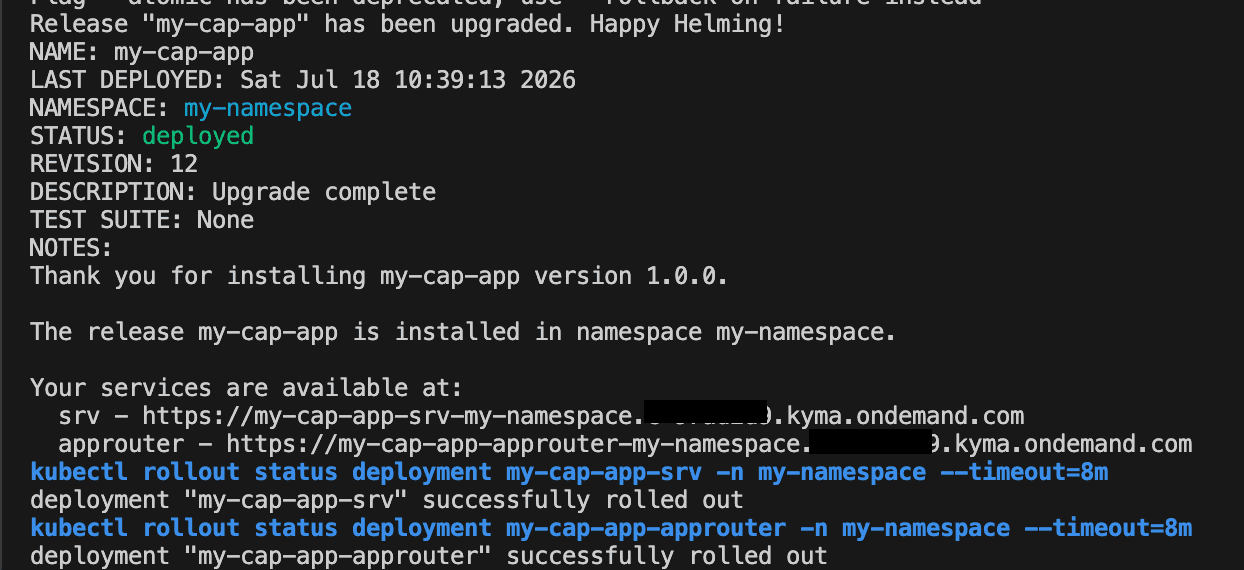
When accessing the Approuter URL, it will first redirect to the XSUAA login page, and after logging in, we will be redirected back to the Approuter, which will forward the request to the CAP application with the access token.
Let's access the Approuter URL in a browser, pointing to the catalog service of the CAP application /odata/v4/catalog/Books:
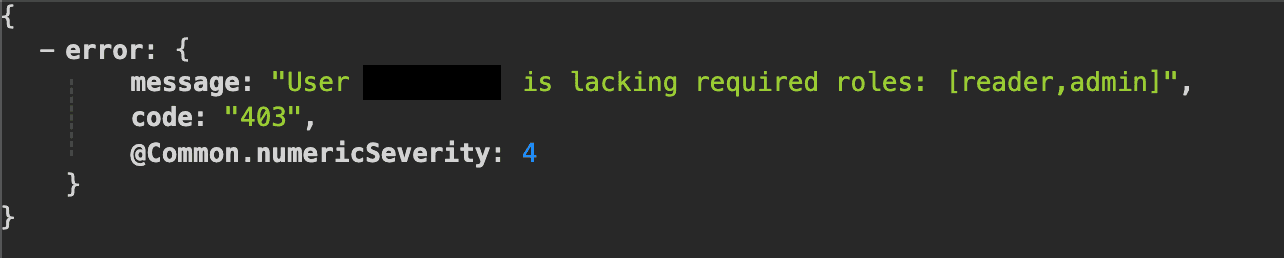
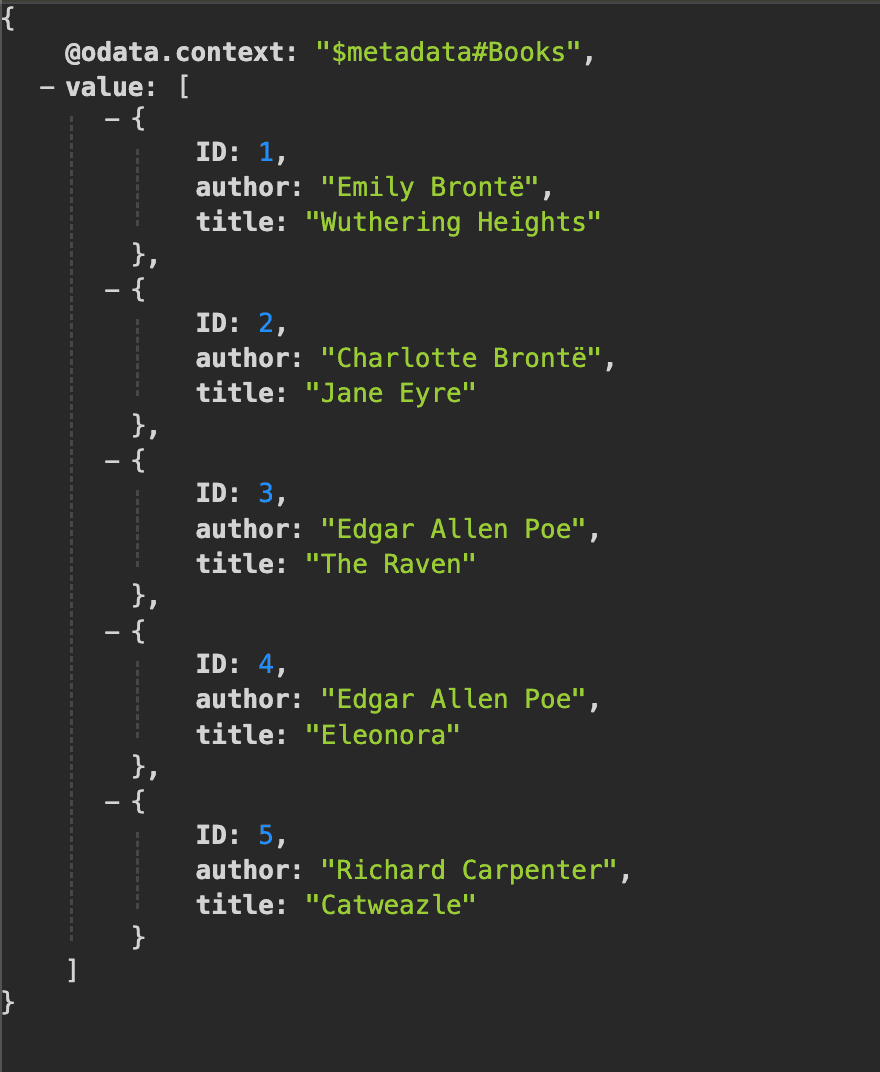
https://my-cap-app-approuter-my-namespace.<my-kyma-subdomain>.kyma.ondemand.com/odata/v4/catalog/BooksIf the role collections were not assigned to the user, we will get a 403 Forbidden error. If the user has the reader-role-collection assigned, we will be able to access the catalog service and see the list of books.
After assigning the role collection as described in the previous section, we can refresh the page and see the list of books:
Related links
- Binding BTP Service Instances to your CAP Application with Kyma Runtime
- Creating BTP Service Instances on SAP BTP Kyma Runtime with the Service Operator
- Understanding SAP Application Router
- Adding authentication and authorisation to Approuter with XSUAA binding in Kyma runtime
- SAP CP XSUAA PaaS in Kubernetes Cluster Application